Word of caution when cannibalizing : A television/Computer monitor has a power source, that if not handled right can electrocute you. DO NOT TRY to cannibalize those or open in anyway, do not cut or touch the wires leading into the power source from the back of the tube of an old style monitor, or the power source box in the computer, i figured that out the hard way and almost got electrocuted, you can get the other parts off the motherboard, just don't touch the power supply or take apart the power supply!!! If in doubt for your safety and the safety of others do not touch power sources of any kind or the wires leading into them.
Ok, enough of the legal speak and on to the tips and tech enjoy!
Recycled Electronics:
When it comes time to get rid of any electronic device, (Dvd/Cd players, stereos, etc,.) save it, take it apart, and you will find endless uses for scratch building. Wires for wiring and some are even braided, diodes for fuel filters, and the list goes on and on..........
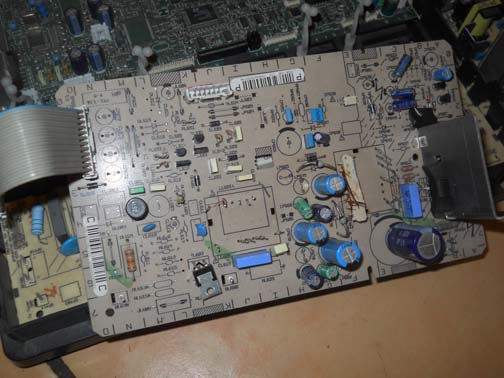
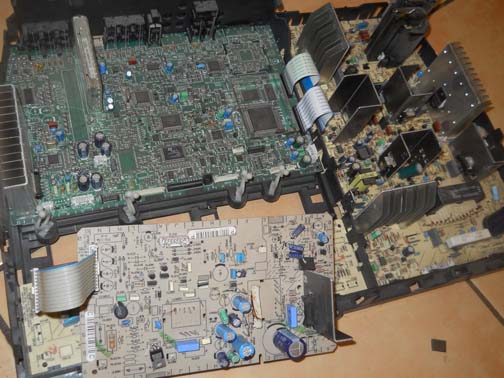
Even small parts of metal can be used from these boards.......
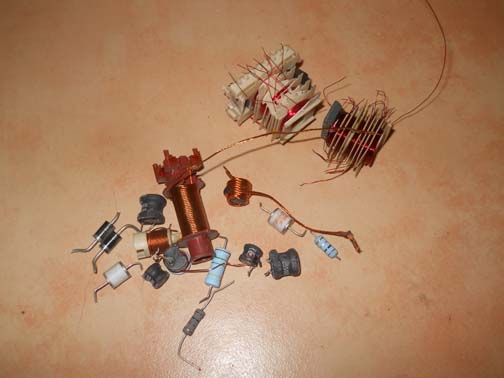
With these spools of wire, you will never need to purchase detail wire again, unless of course you add spark plug wires, where you will need the insulation on the wire to look like the wire itself, other wise these spools have miles of wire on them. Even braided copper wire on the 3 spools to the left of the photo.
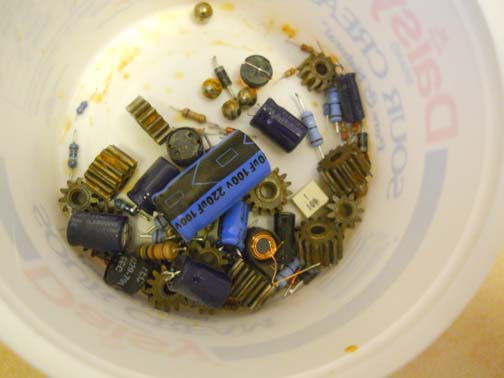
The gears you see in this tub were taken out of a drill that had gone bad, look around at the garbage and see what can be used for your builds, like I said the possiblities are endless.
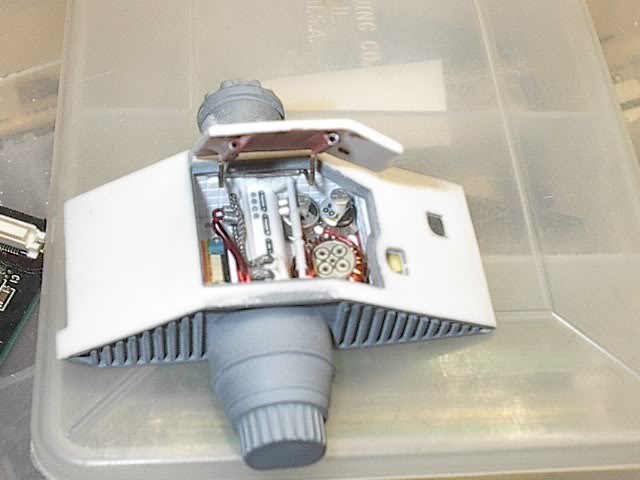
Most all of the parts inside the snowspeeder airbrake area is from parts taken out of old defunk electronics.
Its not a clear photo but again it shows the diodes and capacitors that were used that once painted they make for a very convincing part.
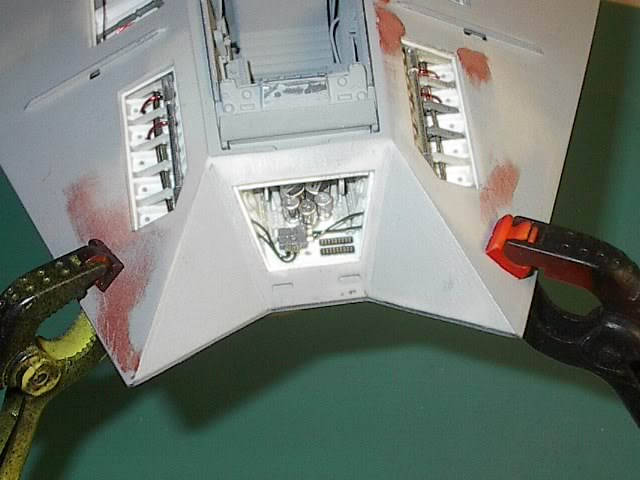
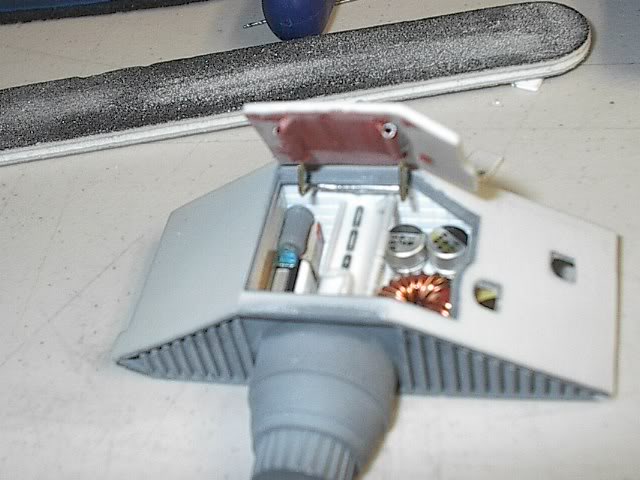
Even here in this opening the shiny things are from a cd player.
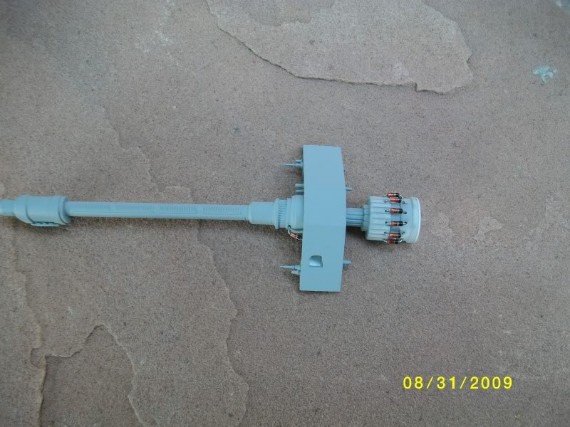
Used little diodes to go around the insulator on this laser gun for the Amt snowspeeder. (brownish/tan items on the right hand side of model part.)
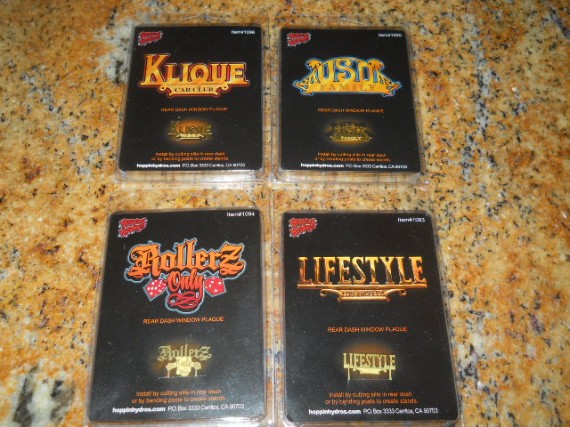
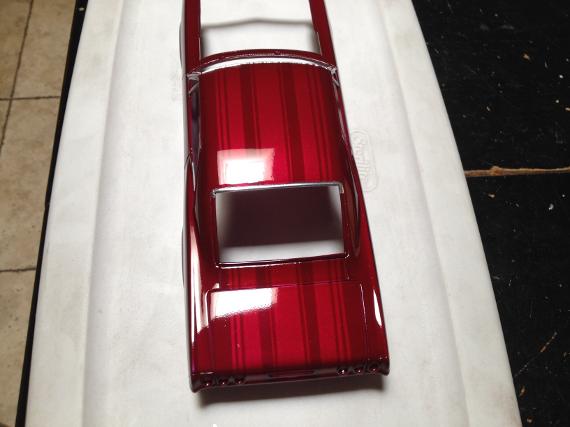
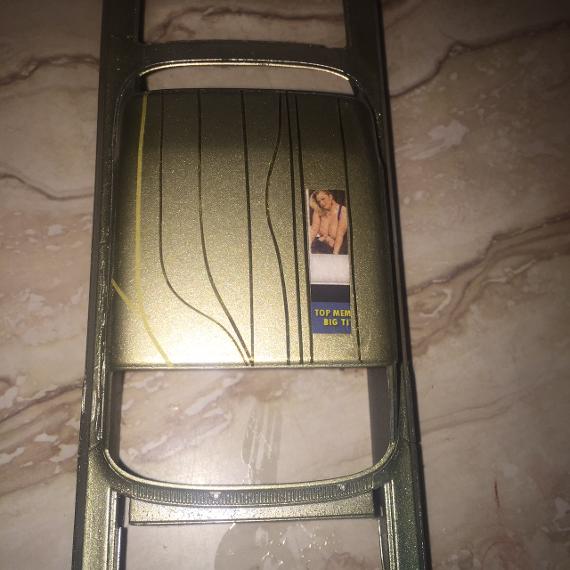
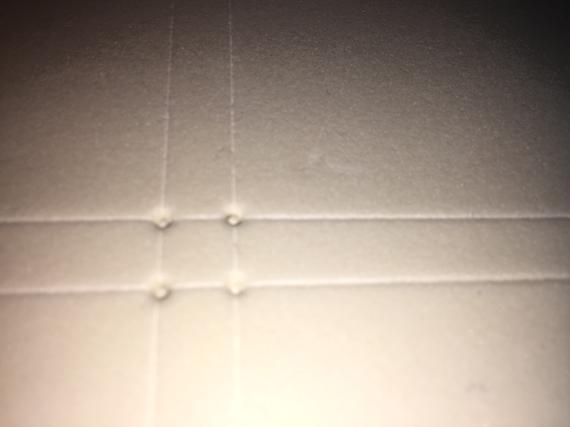
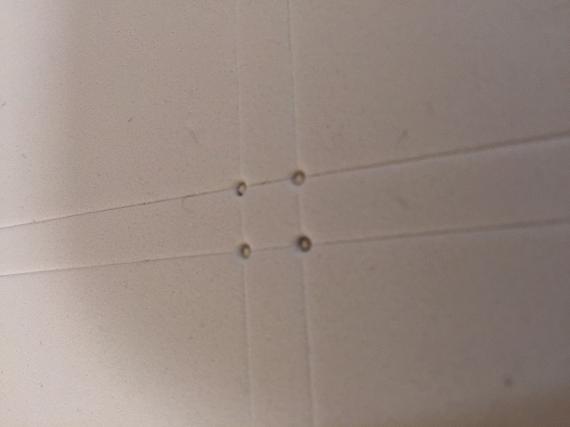
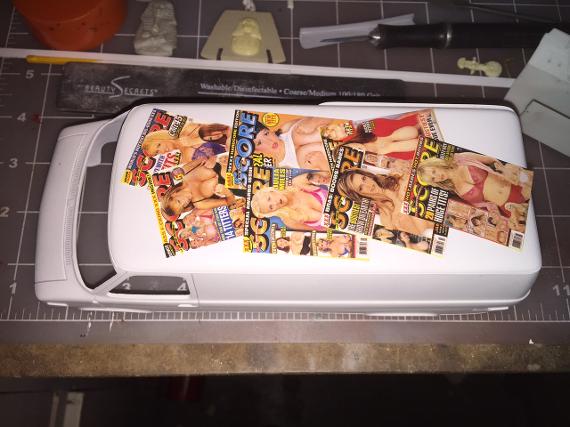
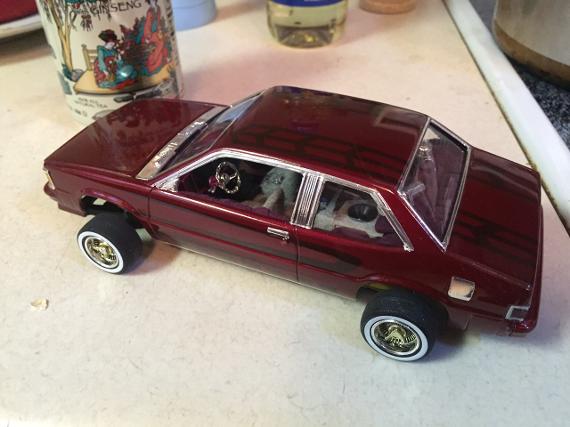
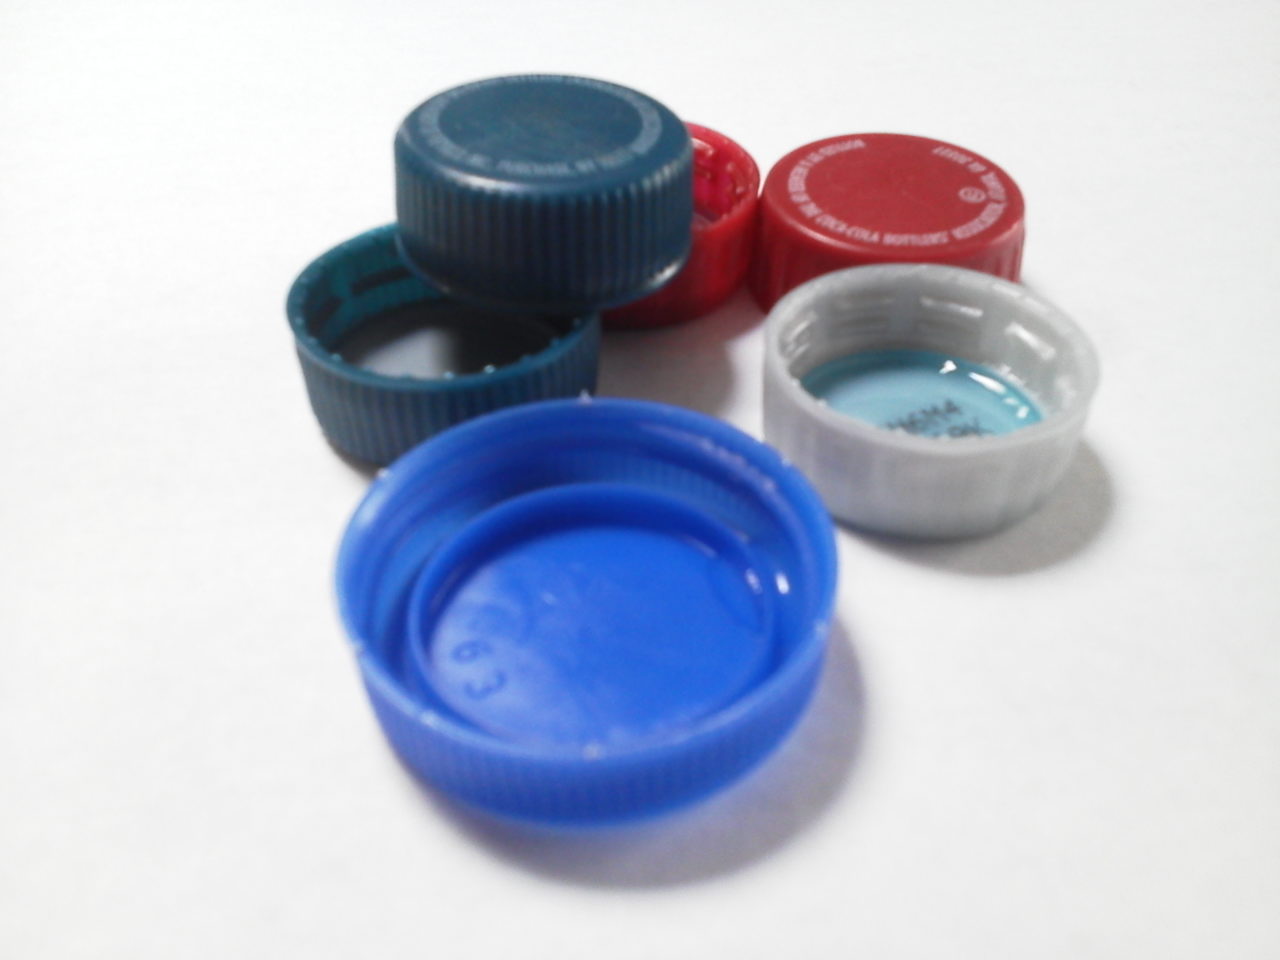
I'm sure you have seen and used these before. Lowrider window plaques add that extra flair for all of your lowrider models. If you haven't seen or used them you really should check into them. They are the coolest accessory to finish of that ride.
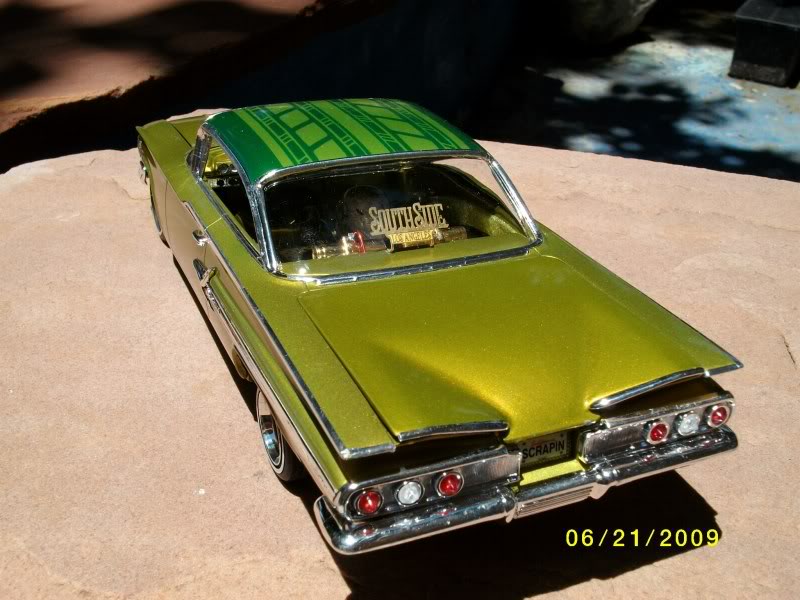
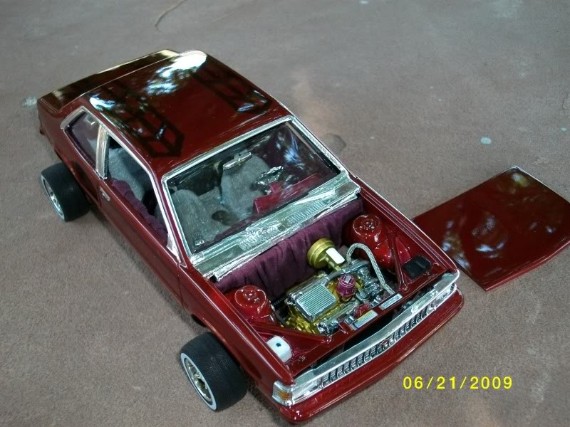
Here is one installed on my 1960 chevy impala. The scale thickness makes them very realistic.
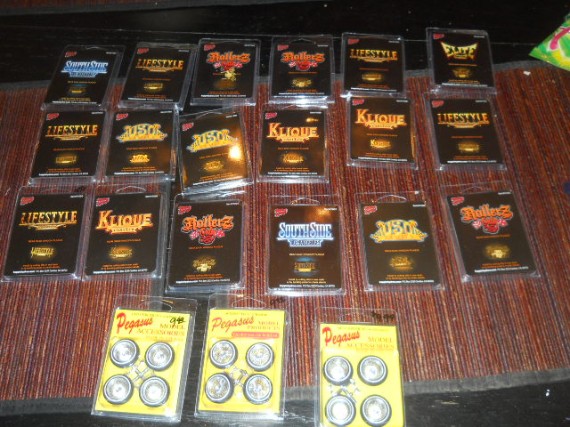
Got a life time supply of these............
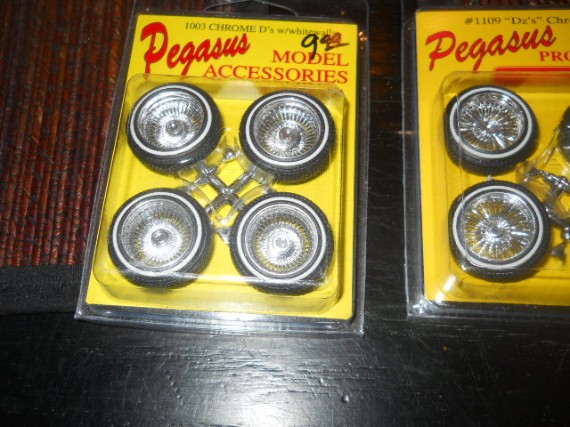
Pegasus has the best lowrider wheel and tire on the market for your lowrider projects, they are the brand that I use.
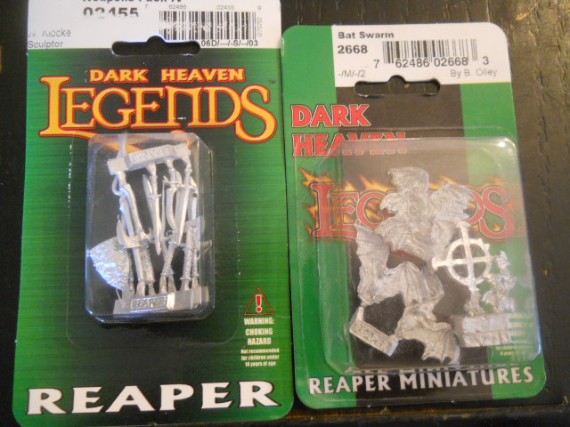
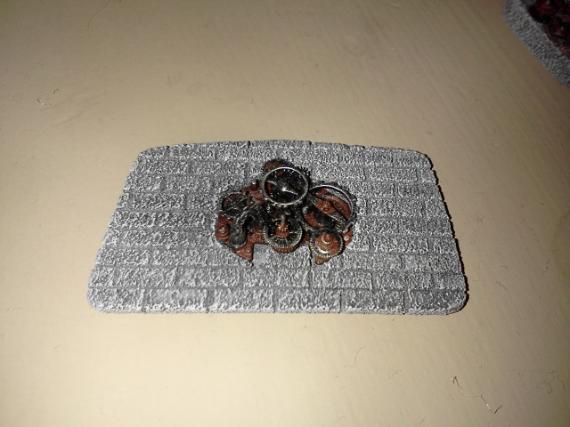
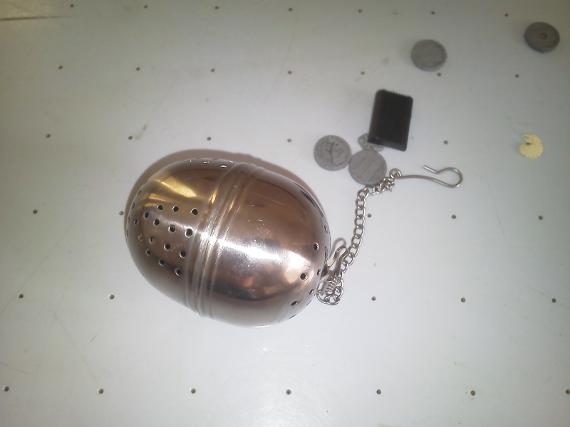
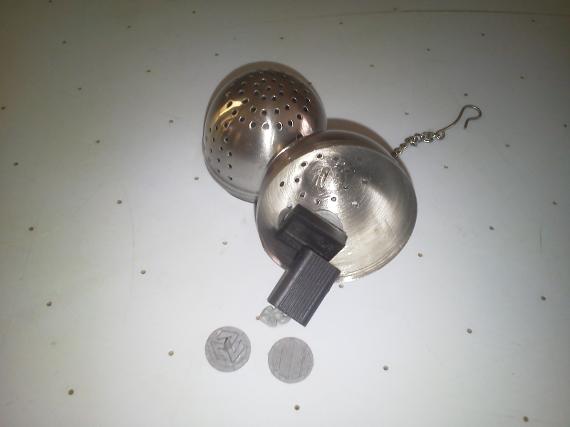
These are gaming pieces for war gaming. I have just discovered there usage in plastic model building. I will add a few more pics in the future on where I have used these.
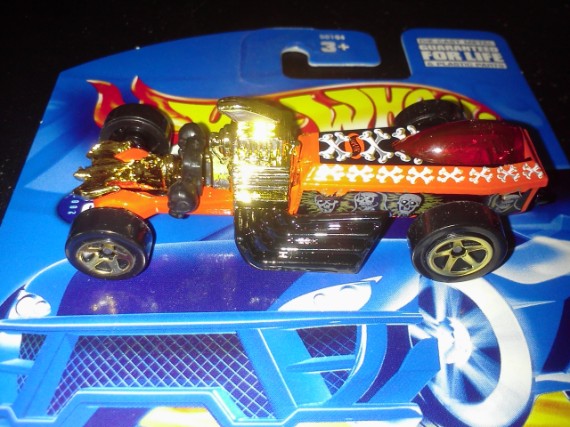
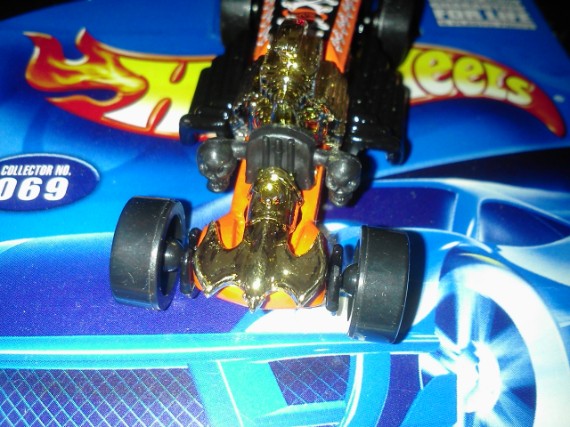
Another area to look for detail parts for model builds is the hot wheels line. For instance this rigor motor HW has skulls for shifter knobs or turn signals and a bat that can be used for a hood ornament, a coffin shaped body that you can cut off and use for anything from a grill to just about anything that you can dream up!!!! The possibilities are endless when it comes to looking for detail parts for plastic models, just about anywhere and anything can be used.
All you have to do is drill out the bottom rivets and it comes apart. You can save the other parts of the hot wheel that you do not use for other builds as well in a spare parts box.
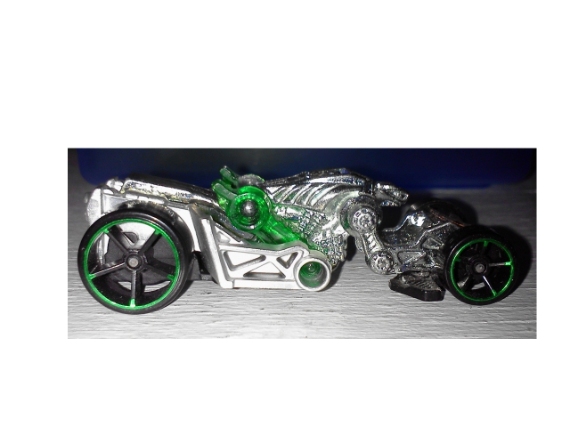
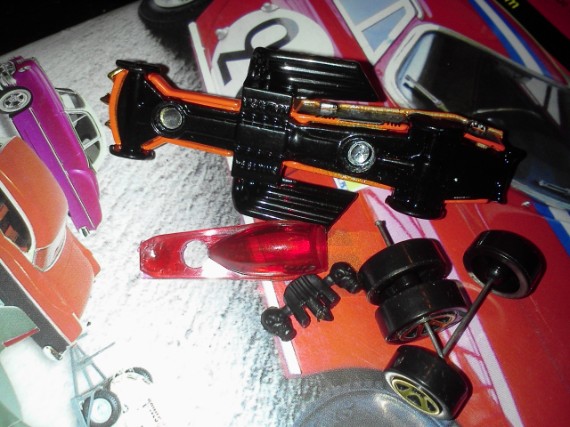
Check out this cool hot wheel I can see custom motorcycle tank or body from this one!!!
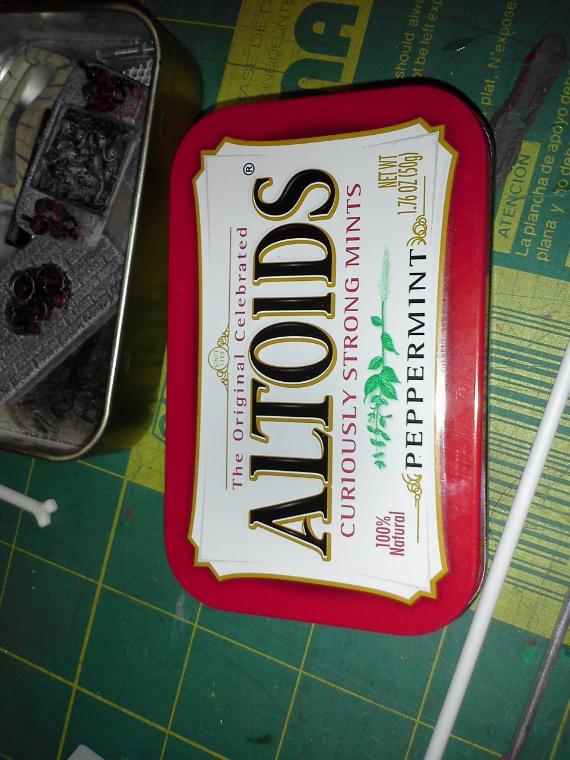
What to do with your used Altoid tins?
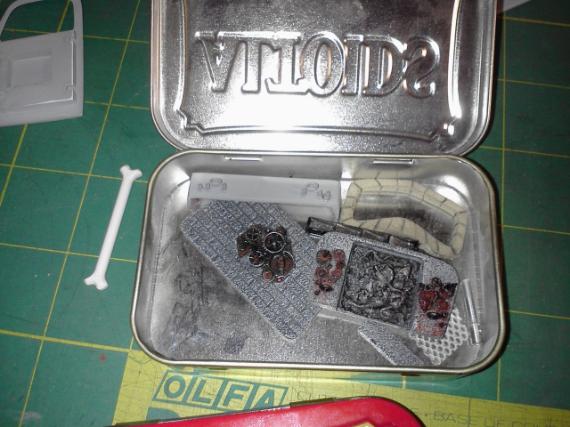
There Great for storing model parts and specifically sub assemblies for your current builds, there strong and resist crushing.
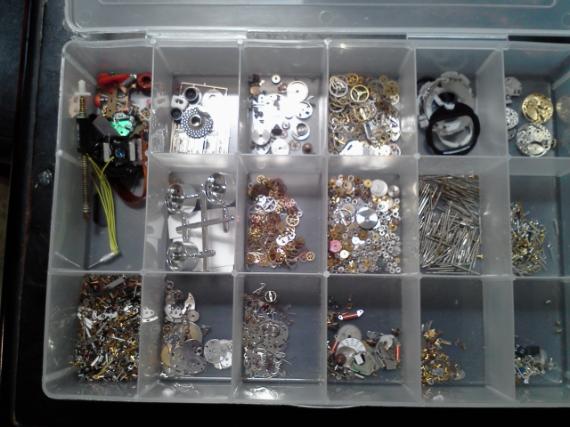
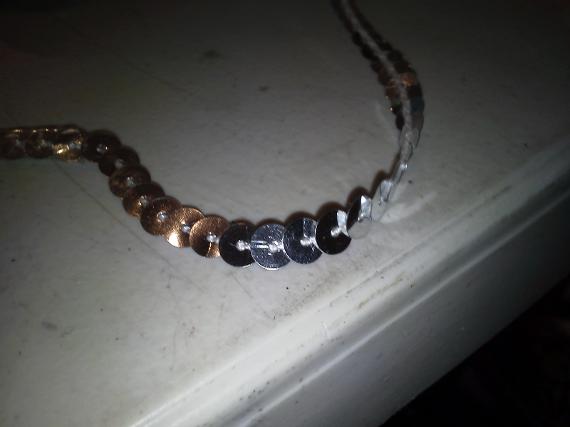
Watch parts, Watch parts, Watch parts, I can not stress enough about the importance of using watch parts in and on your builds. If you have a hobby lobby in your area you can get them there around the clay isle.
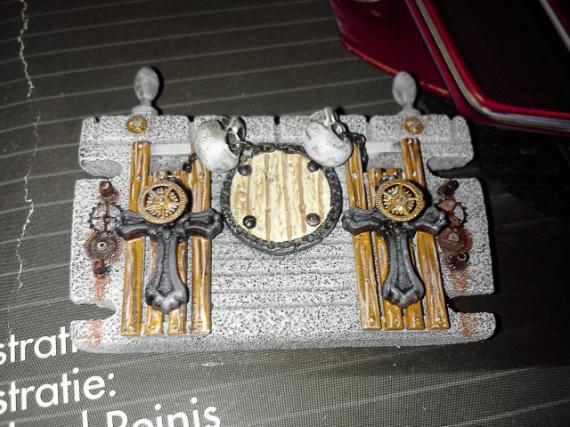
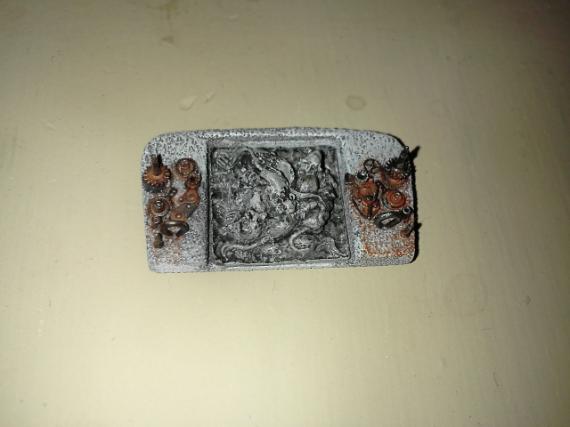
All the three parts or sub assemblies above have watch parts incorporated into the main part for my reapers ride build. The possibilities are endless when you use watch parts in your builds. From engine enhancements to interiors, to the bodies you name it they will fit!
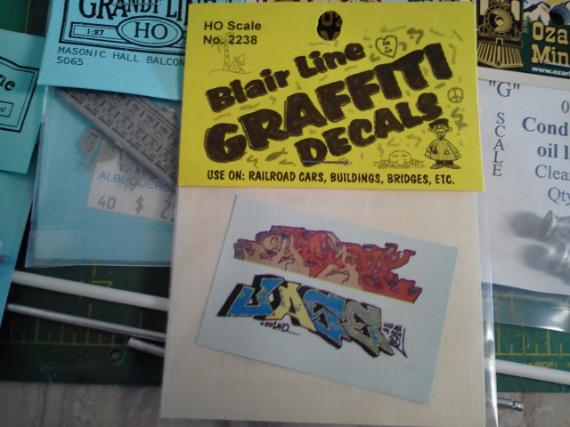
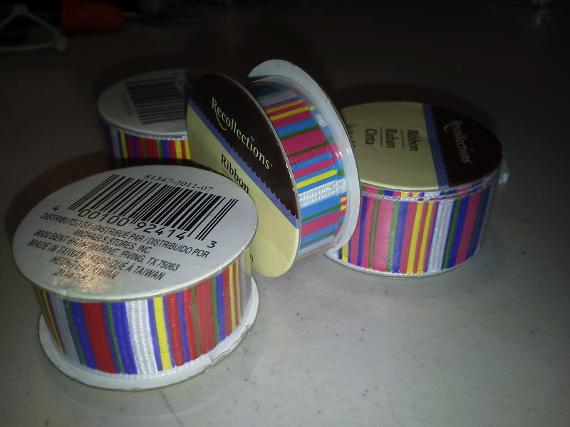
Another resource with endless possibilities for model building, either military or car and truck modeling is a model train store, i browse my local train store for hours and you would be amazed at what you can find for your builds there like this pack of graffiti decals that usually go on train cars makes a good junker car or truck come to life when you add it to one of your builds.
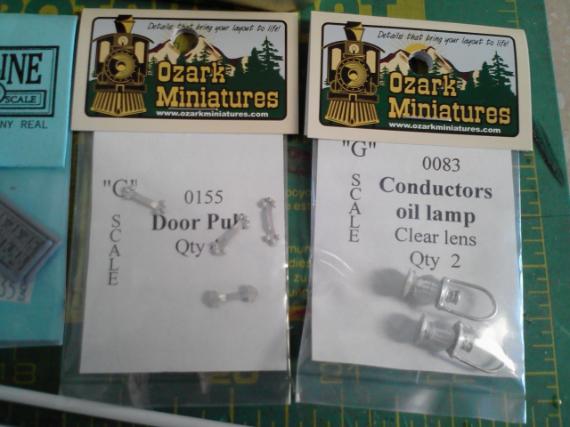
Found these to go on my reapers ride casket!!!

Grandt Line is a detailers dream with all the intricate parts they supply to the model train guys, these come in real handy on some builds, and again like I have said before, very useful for Gizmology in all your builds.
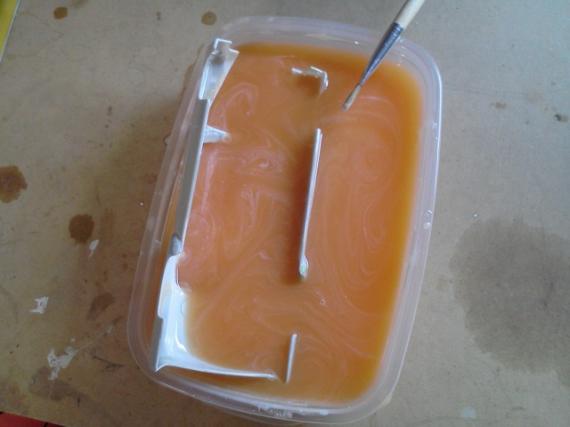
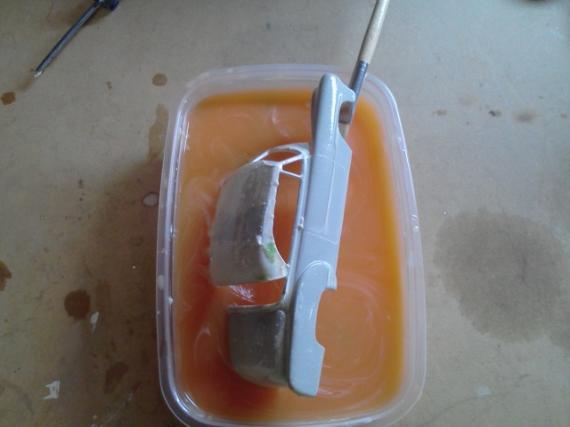
Have a car or truck that you are not happy with the way the paint job came out? or found a glue bomb at a flea market or show? Get rid of the paint, the best way i have found to rid the paint is to dip it in brake fluid, within an hour or less most paints are gone. Now some people prefer other methods, but for me just the brake fluid and a brush to get rid of any paint in nooks or crannies and its back to square one and another shot at painting the kit. One word of caution however, first remember that this is a paint remover so where ever you use it keep all surfaces covered by either newspapers or other means of protection and also do not soak resin painted parts in brake fluid as it soaks into the resin and the resin will become a gooey mess! Also use rubber gloves and try not to get any brake fluid on you.

I found this in the parts bin at my local model club and have the perfect kit to finish it, never was happy with the convertible issue so i figured a little brake fluid and I'm back in business.
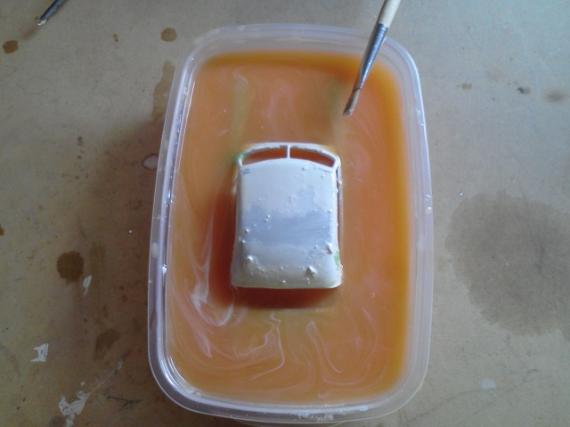
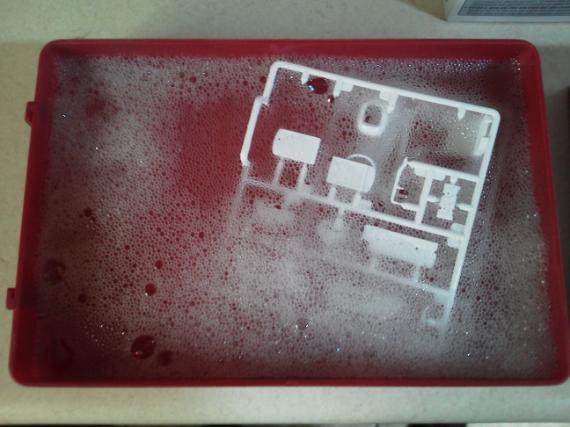
Just use a stiff bristle brush or tooth brush to help it along, then when its bare plastic give it a wash in the kitchen sink with some dish soap and your ready!
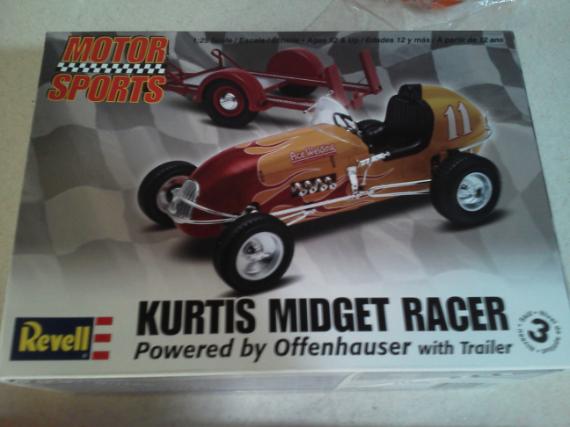
Won this kit at my Model clubs September model meeting and when I opened the box and saw how small the sprues were I got to thinking about fundamentals of model building and decided that from this day forward that upon opening the box washing the parts while they are still on the trees. I used to wash the sub assemblies after all the handling of construction but its easier with them on the trees.

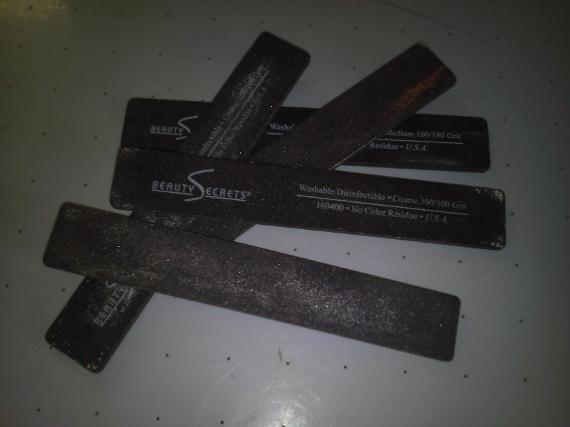
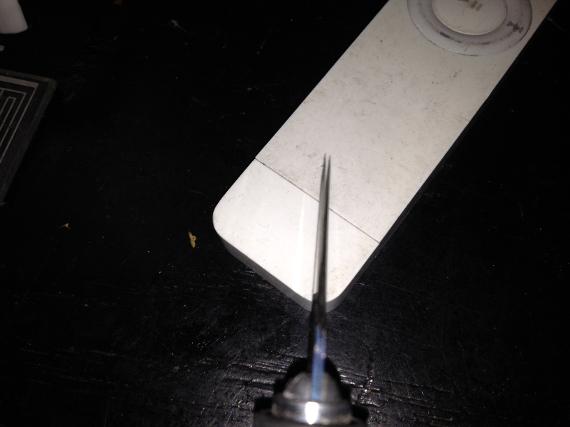
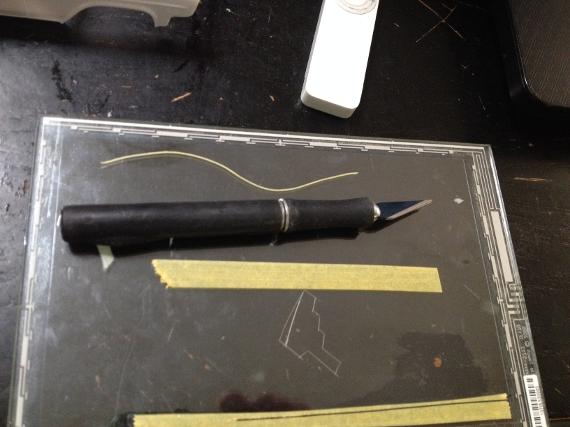
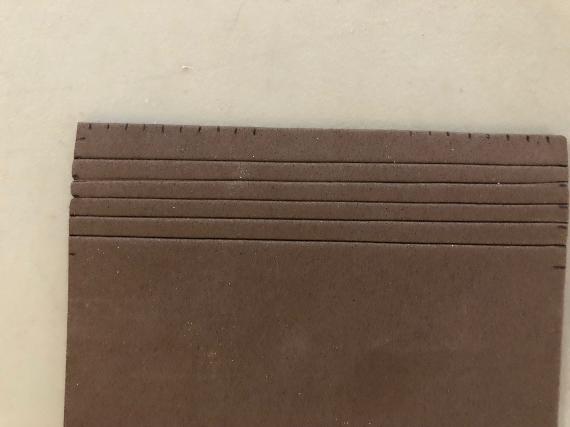
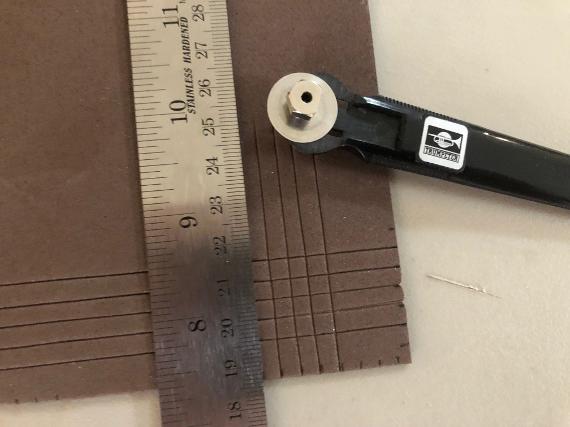
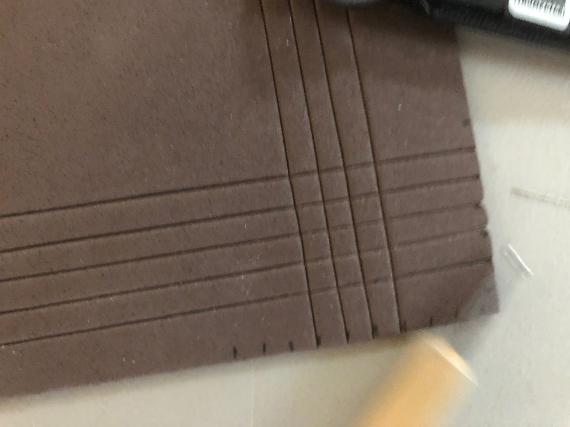
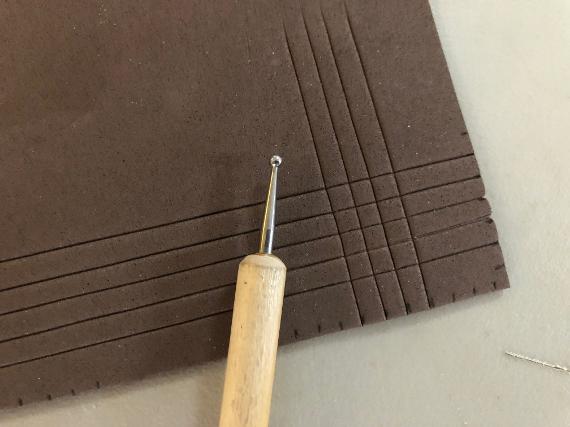
Always getting those fake credit cards in the mail? Do not toss them you can use them for spreading body putty on your model and you can cut custom shapes with them and add sand paper for custom sanding and getting into hard to reach spots.....